In this installment of Just the Tip Tuesday we’re going to focus on holster wraps, specifically how to DIY a camo Cordura holster wrap on regular holster you determine needs to be churched up a bit. As arts & crafts sessions go, we reckon it’s a good one. Hopefully, you will too. ~ Mad Duo
Camo Cordura Holster Crafting
If you are like me, most of your projects begin with a rabbit hole you couldn’t help but go down. So it was with holster wraps when a single comment sparked an idea. A friend from a local gun range/store recently told me, “Nobody wants black guns anymore.”
He’s right. Painted guns, whether that be a Cerakote job from a true artist or a rattle can job in the garage, are just cool. Now holsters seem to be going the same way, with ever more creative Kydex prints and Cordura wraps. But what about those of us with a box full of perfectly serviceable black holsters? What are we to do with those? However will we look cool on the range?!?
Or worse yet, what if you have an esoteric pistol model for which the only holster available is black?
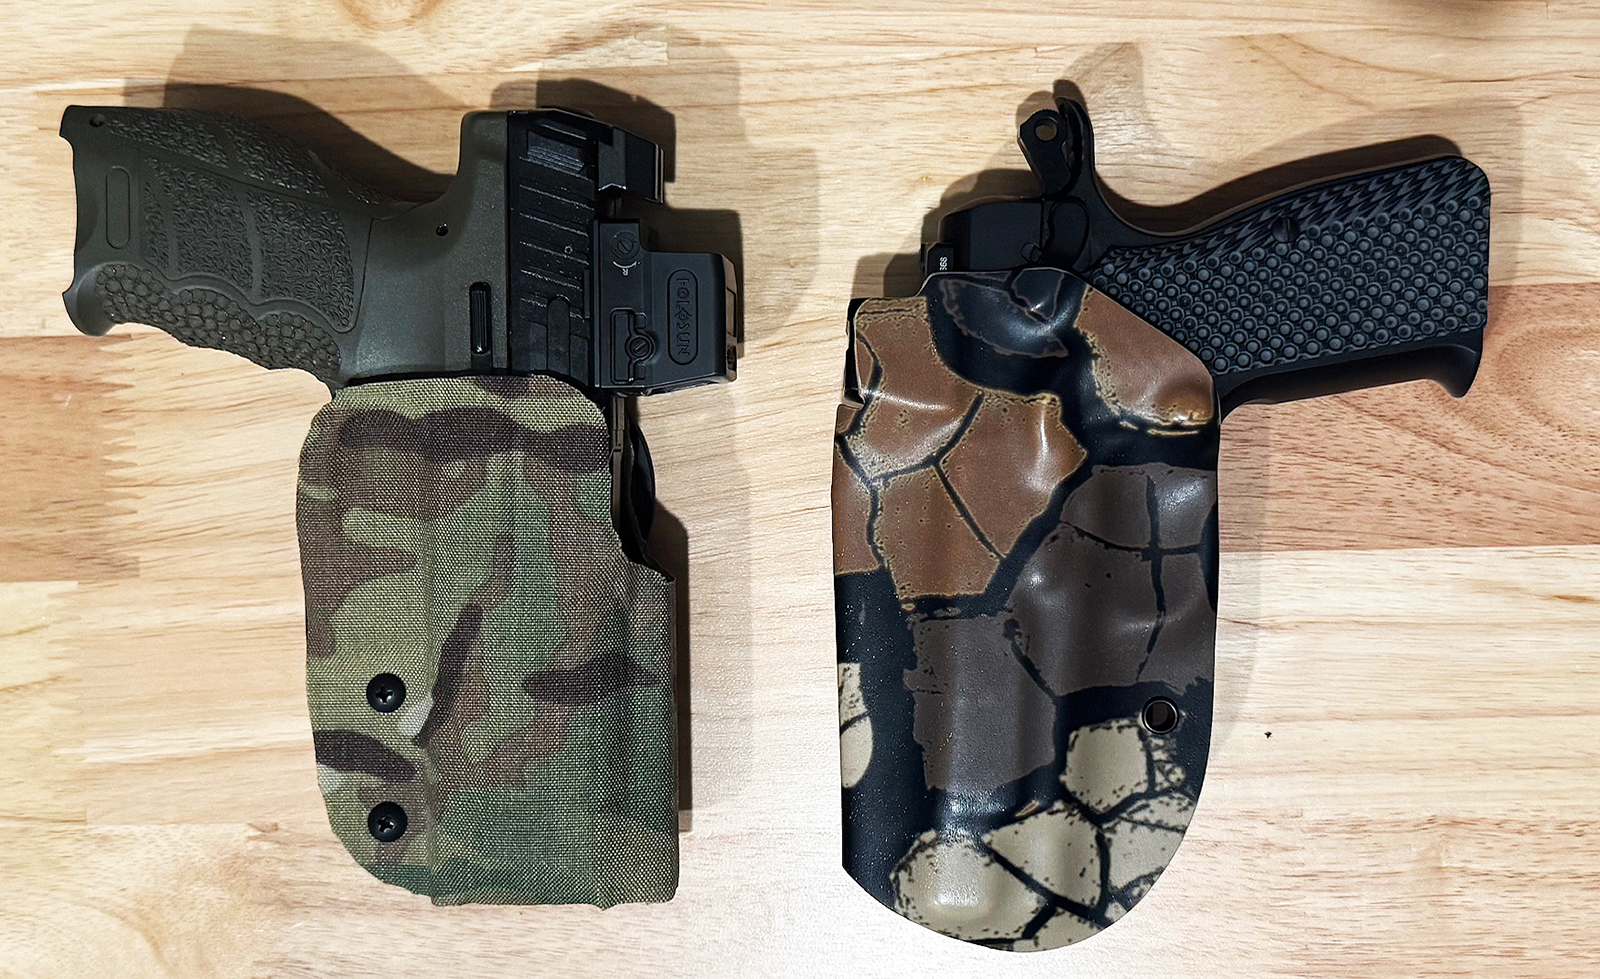
Just look at this hand-wrapped MultiCam VP9 holster. You know what Eddie Johnson would say to Clark about this, right?
Enter the upcycled/recycled/repurposed old-gear-with-sticky-stuff standard or… DIY holster wraps!
DIY Cordura Holster Camo Wraps
I recently went through a gear purge and cleaning frenzy, and realized (among other things) that I needed some new holsters. You know the drill. You put a different light or optic on the gun, or you’ve learned more about what you actually want or need in a specific use holster, and suddenly you realize what you bought 10 years ago just isn’t it.
After having my classic no-rail CZ-75B milled out for an optic, I needed a new option, but my choices were limited. I ended up going with a Bladetech rig, and while I was at it, finally bought up all the quick disconnect gear I had been meaning to do for years.
(You’ll see more on that in my upcoming battle belt evolution article.)
Back to the project at hand.
Now, black has its uses, particularly for LE duty gear and other “mission sets,” but… Black also stands out perhaps more than any other color at night and soaks up heat by day. Plus, it just doesn’t look cool. Unless you are going for the 80’s/90’s SWAT vibe, in which case I can dig it. Painting a holster is always a possibility (and is frequently done), but I feel like the integrity of the coat rarely holds up for long, particularly if used a lot and/or in inhospitable terrain.
Enter 500D Cordova.
Cordura Holsters: Wrap It Up
There are two main approaches to holster wrapping. Some people use basic fabric cut from old camo gear and apply it with 3M spray adhesive. This certainly works, but the work involved is neither simple nor neat and clean.
3M Adhesive Spray or as the young “Joes” called it, Spider Jizz can be as messy as it sounds.
The other option is to use pre-made self-adhesive holster wraps in the camouflage pattern (or new-whatever-hotness-hue) made specifically to let you handle the process yourself. Without resorting to arachnid spunk.
Fun fact: my junior enlisted PSYOP soldiers affectionately called that stuff “Spider Jizz,” as we used it to post handbills all over Afghanistan. It works, but the process is messy and unforgiving.
When it comes to using a commercial product, I found a superior product from “HolsterSmith” that comes with adhesive already applied. The repositionable adhesive allows you to flex and move the fabric, even peel it back and try again, but once positioned and firmly pressed down, it sticks tighter than a failing OnlyFans model to their top subscriber.
I bought mine off Amazon in MultiCam and Tiger Stripe for between $16 for a single holster 6×12″ strip to $26 for a 12×12″ sheet that covers two holsters. You can buy it right here.
Application Process
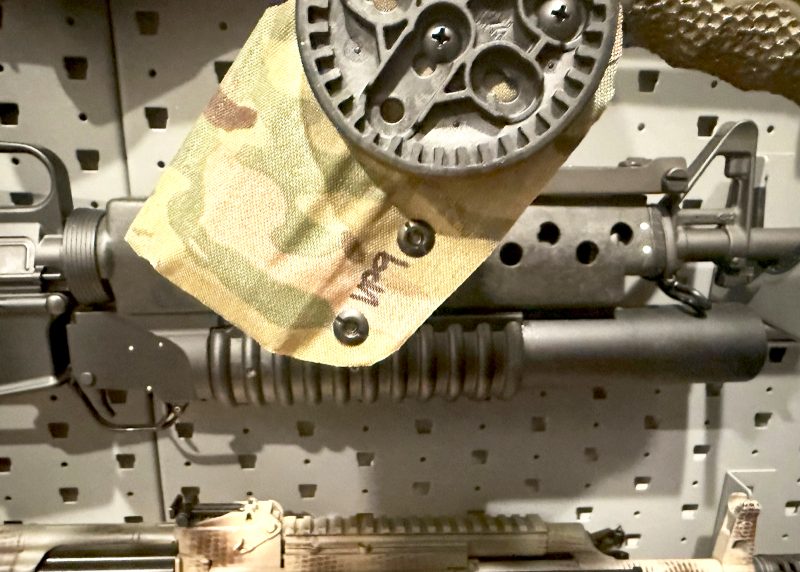
Now for the Do It Yourself portion of “DIY Holster Wraps”. There are plenty of videos out there showing how to apply it, but here’s what I learned. The key to a professional-looking result is proper preparation and patience. First, completely disassemble the holster – remove all screws, clips, and hardware. An optional but potentially worthwhile step is to clean the Kydex surface with isopropyl alcohol to remove oils and debris. This will mainly depend on the condition of the holster. I skipped this for brand new ones.
Center the sight channel (the deepest part of the holster) in the middle of your wrap material. This ensures you have enough material to work with on all sides. Use a sharp utility blade – I can’t stress this enough. A dull blade will tear the fabric and create ragged edges that look amateur.
Work slowly around curves and tight areas. The adhesive gives you multiple chances to get it right, so don’t rush. Trim excess material, leaving about 1/8″ to wrap around edges where possible. Don’t worry about perfection – this isn’t meant to be a museum piece, and frankly, no one will notice if you have a few uneven edges or even a bubble here and there.
For complex shapes like trigger guards, make relief cuts in the fabric to prevent bunching. Think of it like wrapping a present – strategic cuts help the material lay flat around corners.
Bubbles usually indicate you haven’t worked the air out properly or the surface wasn’t clean. Small bubbles will often work out over time with use, but large ones should be addressed by lifting that section and reapplying.
If the wrap starts lifting at high-wear points after extended use, a small dab of flexible fabric glue at the edges will secure it permanently.
Outlay of the wrap.
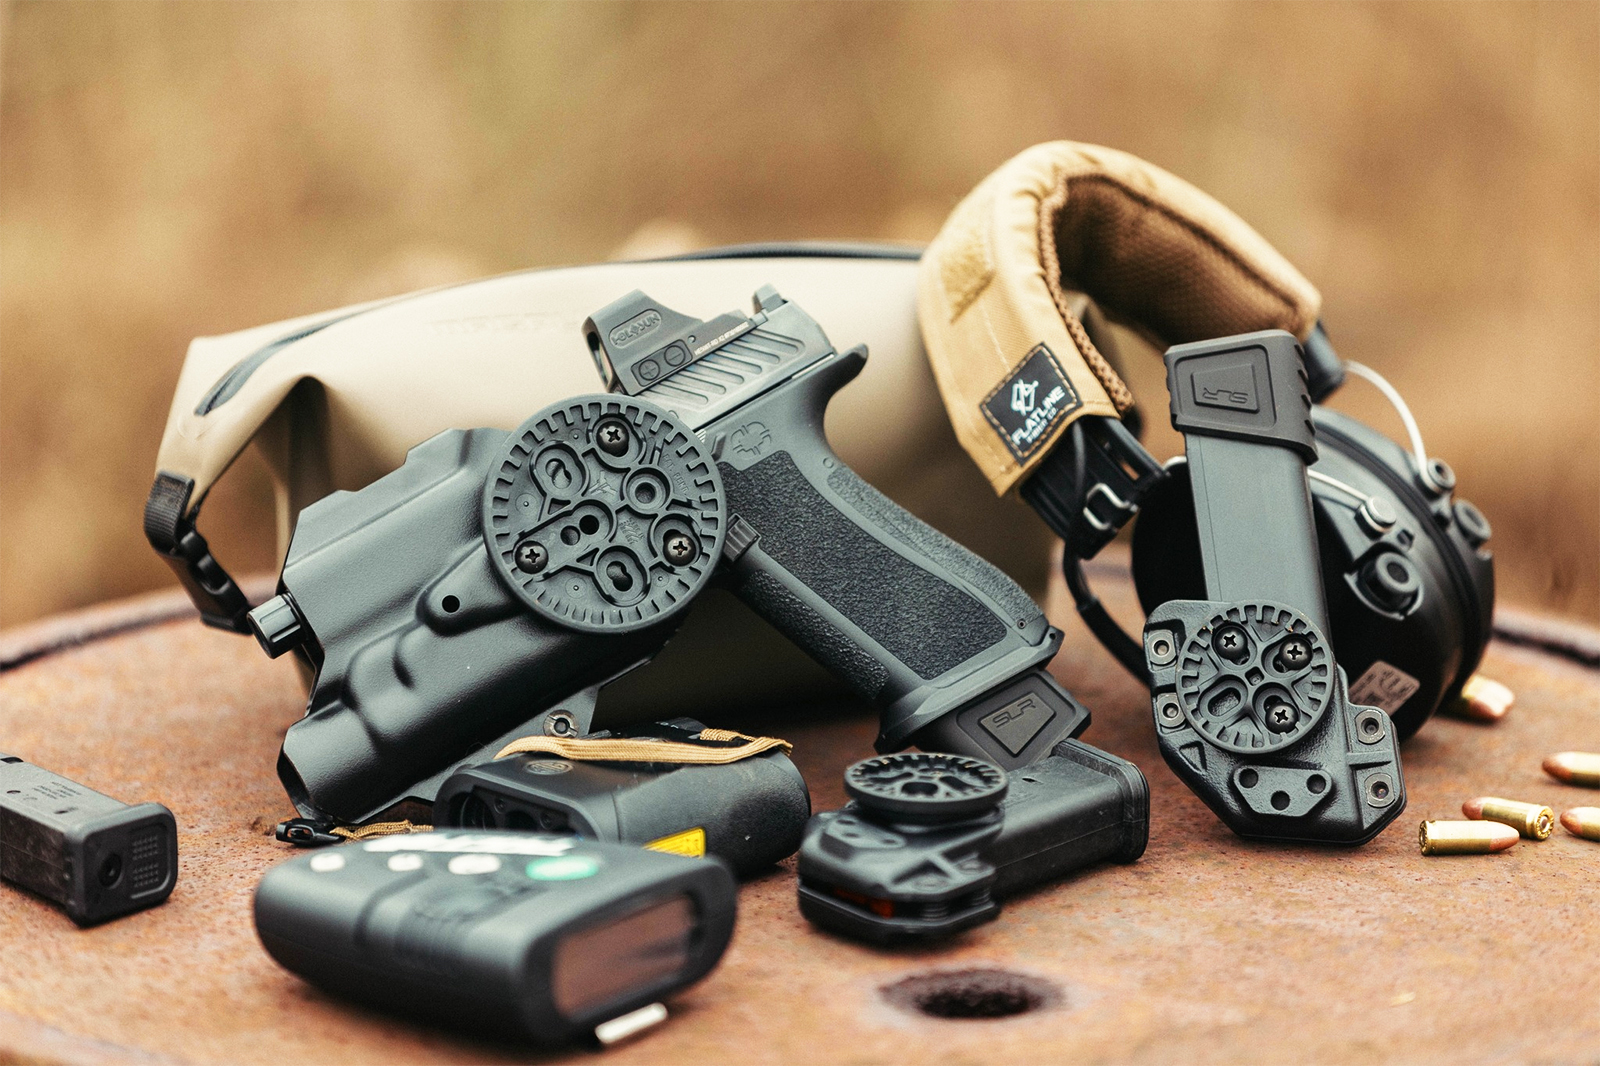
Of course, despite the word “holsters” in “DIY Holster Wraps” you’re not confined to just those. It will work on those Kydex mag holders, butt stocks, really about anywhere plastic and flat(-ish). The sky’s the limit. I think it looks great, and for $13, you can have the poor man’s Safariland look.
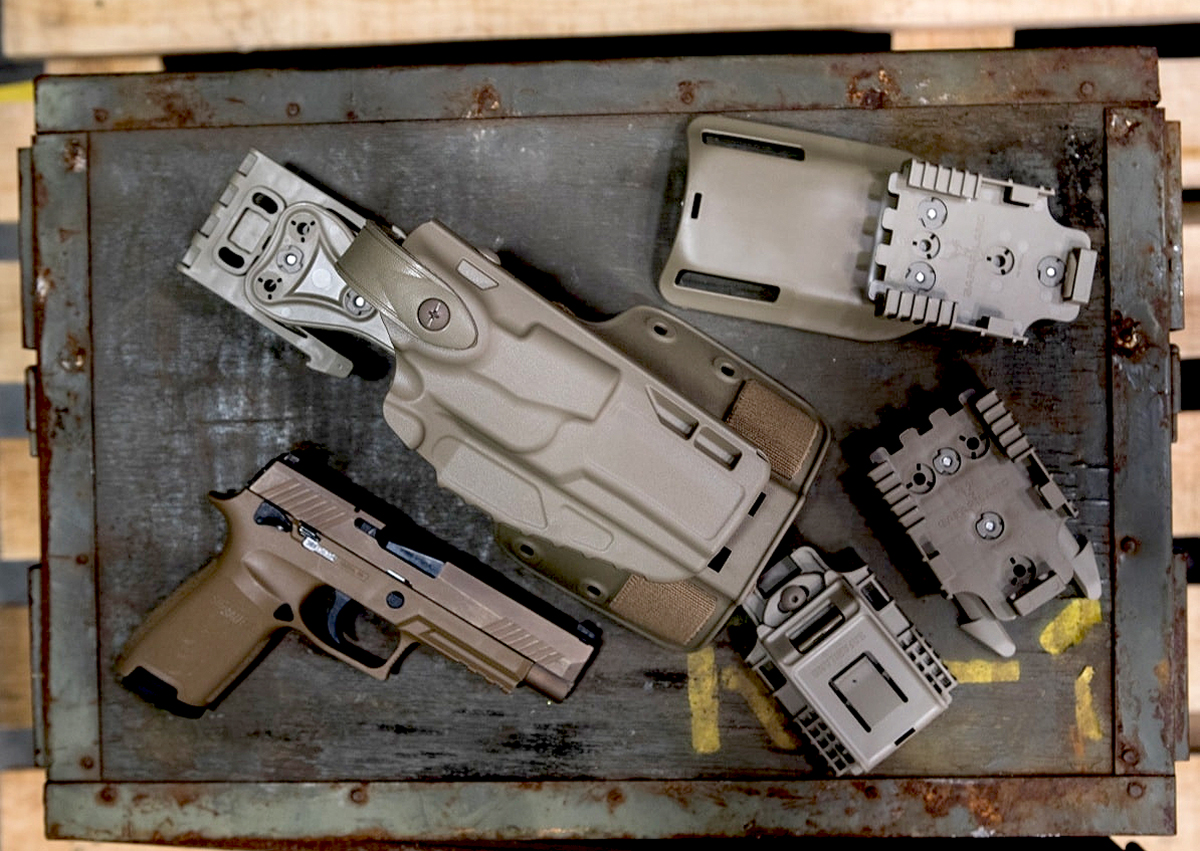
Holster & Belt Upgrades: QD Mechanisms (an aside)
Safariland has a great system as well, but I like the Bladetech flexibility in adjusting the cant and they have adapters for the UBL system Honestly, I now own both and you can’t go wrong with either.
In addition to playing around with assorted cammie patterns, I’ve also recently begun a focus on modularity and interchangeability. In addition to the disconnect system, I’ve found Bladetech makes great affordable holsters for a wide variety of guns. However, that famous Henry Ford quote definitely applies to them. As he said, “You can get them in any color you want as long as it’s black.” (Photo courtesy of Blade-Tech.) You’ll see more of my modularity efforts in an upcoming article! (Photo courtesy of Safariland.)
I’m not sure why I waited to do this. For most classes, I bring two guns in case one goes down or because I’m still evaluating which I prefer, and I want to run them both. That usually meant two separate battle belts, so I didn’t have to spend 20 minutes wrestling a new holster in place or turning screws in the field. Now with a quick-connect mounting system I can run a different gun on the same belt in seconds.
/Side rant over
Note that this can be undone because there is no permanent modification. If you decide to take it off and dress your Holster Barbie in a new outfit later, you can definitely do so.
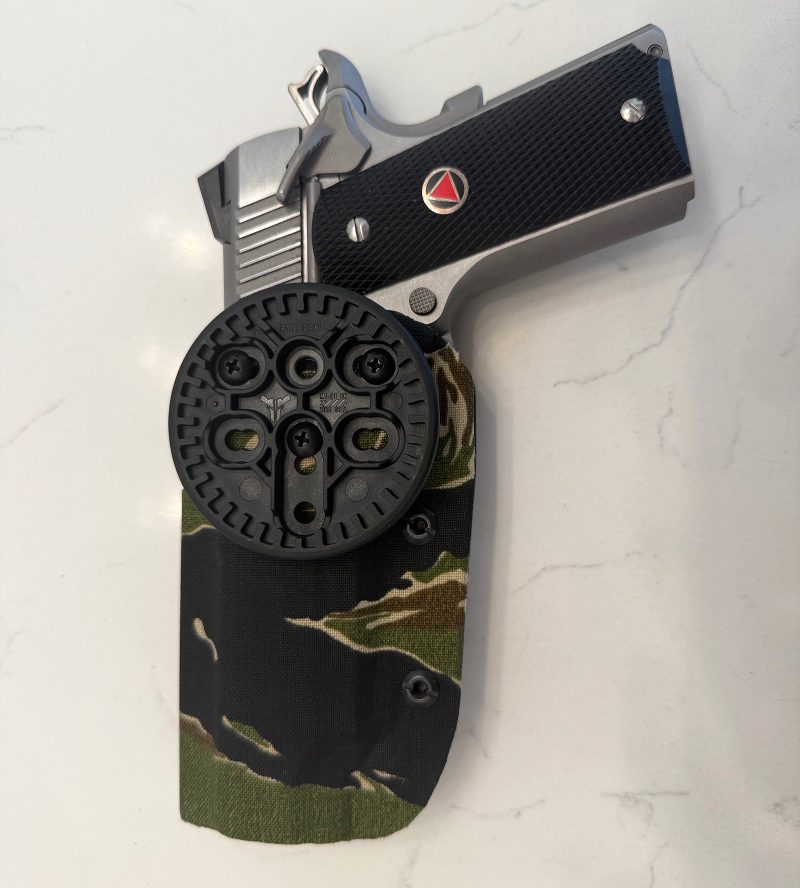
Is it just me, or does a 1911 and Vietnam Tiger Stripe go together like Peanut Butter and Jelly?
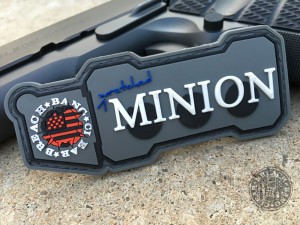
They’re also super easy to write on with a Sharpie now. I always label all my holsters so when they go into the old “Holster Bin of Chaos”™, I can figure out which is which later. The fabric takes permanent marker beautifully and stays legible through normal use.
I think the DIY holster wraps hold their own against those custom Kydex prints.
Garage Gun Therapy
I mentioned these create a better camo profile, but as much as I like to LARP as a middle-aged veteran turned suburban white-collar dad, I more than likely won’t ever need this level of stealth. So why do it really? Well, it was fun! It’s an easy project that doesn’t cost much, doesn’t require a lot of tools or skills, and made for a fun break in my week. I got to hand the kids off to my wife, sit at my workbench in the garage with a frosty beverage, listen to the latest “Primary and Secondary” podcast, and make something gun-related that looked cool. Sounds like a nice afternoon to me. Those who already make holsters could easily add this as an additional paid add-on so it might make for good business as well.
Pros
Cost effective: Transform existing gear for $13-26 instead of buying new
Reversible: No permanent modifications – peel it off anytime
Heat reduction: Lighter colors reflect heat instead of absorbing it
Camouflage profile: Breaks up the distinctive holster outline
Easy identification: Write directly on fabric with Sharpie for labeling
Durability: 500D Cordura holds up better than paint jobs
Flexibility: Works on holsters, mag pouches, and other Kydex gear
Temperature range: Adhesive remains stable (allegedly) from -20°F to 140°F
Cons
Limited patterns: Not as many options as custom Kydex prints
Application time: Takes 20-30 minutes per holster if you’re careful
Tool requirements: Need sharp utility knife and patience
Lack of Perfection: If you need your safe queen gear to be perfect, don’t even attempt this
Edges: Will show wear over time at high-friction points (there are remediation techniques with glue or lighters)
Availability: Fewer retailers carry adhesive-backed camo material
When it comes to DIY “tactical arts and crafts” projects, it’s hard to beat some Cordura wrap work. If only so you can show off a sexy CZ-VZ combo.
DIY Camo Cordura Holster Wrap Parts and Accessories
HolsterSmith Adhesive-Backed Wraps:
6×12″ single holster: $16
12×12″ double holster: $26
Available patterns: Multicam, Tiger Stripe, A-TACS, Kryptek variants
Alternative Materials:
500D Cordura fabric: $8-12/yard (requires separate adhesive)
3M Super 77 Spray Adhesive: $8-12/can
Outdoor Element fabric adhesive sheets: $18-24
Tools Needed:
Sharp utility knife with replaceable blades
Metal ruler or straight edge (for splitting the 12×12 in half to do two holsters)
Isopropyl alcohol for surface prep
Clean microfiber cloths
Where to Buy:
Amazon (HolsterSmith products)
Local fabric stores (raw Cordura)
Hardware stores (3M adhesive)
Tactical gear retailers (specialty patterns)
Have you done anything like this? Anything to add? Better ways to do it, cheaper ways to do it, throwing a fit because there’s no need to do it?
Hit us up in the comments!
CZ58DO
We have all kinda hints and tricks and suggestions on improving your training, gear, even your ability to draw dick pics. Check out Just the TIp Tuesday.
Support us by checking out Wilder Tactical!
Get banged on the regular, sign up for the newsletter!
GI Suburban Dad
About the Author
GI Suburban Dad has lived all over but currently resides in Oklahoma with his wife and kids, where he does typical middle-aged suburban dweller human things.
He is an avid reader, firearms enthusiast, member of the HOA Deep State, and ardent defender of the Third Amendment. He also spent 14 years in the Army Reserves, first in Counterintelligence and later deploying to Afghanistan as a Psychological Operations Tactical Detachment commander. He currently works a white-collar job making PowerPoint slides and attending meetings that could have been emails.
He dreams of one day opening a charity to take flightless birds skydiving so they can experience the thrill of flight just once in their lives.
Find what’s in stock, and where, and compare prices.
⚠️ Some hyperlinks in this article may contain affiliate links. If you use them to make a purchase, we will receive a small commission at no additional cost to you. It’s just one way to Back the Bang. #backthebang


0 Comments